Monday, November 12, 2012

Butterscotch Chip Oatmeal Cake

A bowl of oatmeal is a great way to start the day.  The breakfast staple is an excellent source of fiber (which keeps you fuller longer), full of whole grains, and if you add a little honey or brown sugar, it's a real tasty treat!

Which is why when I add oats to my desserts, it automatically transforms them into healthy treats and I can have three or even four servings in one sitting.  The healthy benefits of  a couple of cups of oatmeal negate all of the butter, sugar, flour and, in this case, butterscotch pieces that also find their way into the batter of my favorite desserts.....

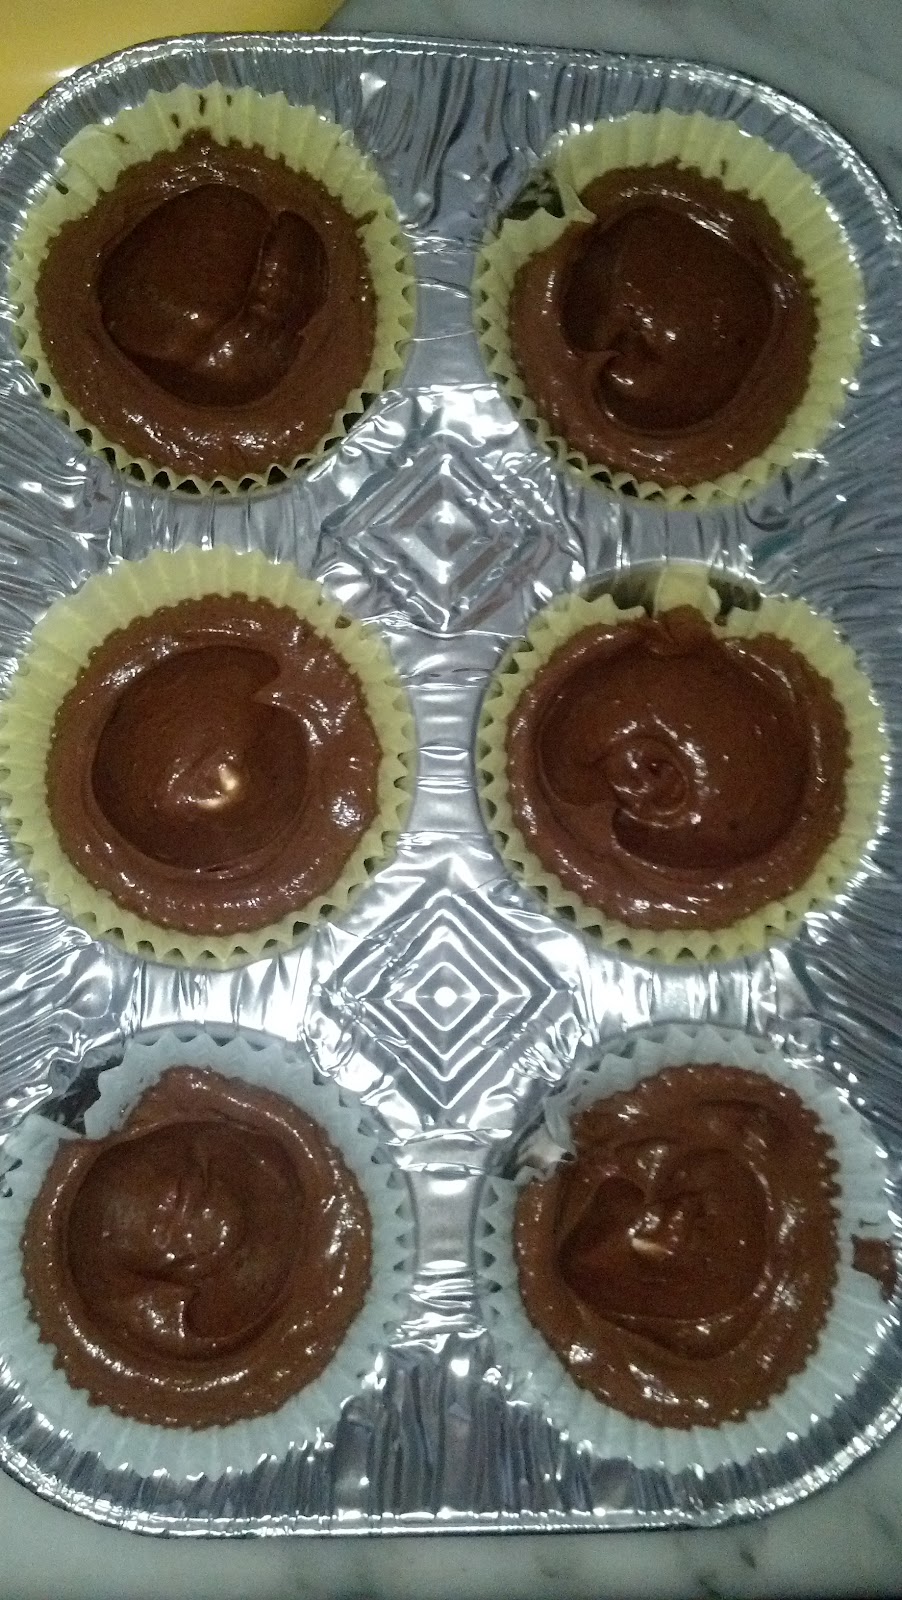
....Well, not really.  But oats certainly do add a light texture and hearty flavor to many desserts.  This cake specifically is extremely simple and yummy!  The oats give the cake an airy texture and the pecan pieces provide an added crunch.  The butterscotch chips seem to fall to the bottom of the batter in the pan during the baking process, so when they melt, it creates a sort of caramelized crust on the bottom, which pairs well with the moist cake.  As you will see from the pictures, it isn't the prettiest dessert, but it's one of the tastiest!

So next time you're feeling in a "healthy" mood and are looking for an easy and delicious treat, I definitely recommend this Butterscotch Chip Oatmeal Cake!


Butterscotch Chip Oatmeal Cake
1 cup quick-cooking rolled oats
1 3/4 cups boiling water
1 cup granulated sugar
1 cup packed brown sugar
1/2 cup butter, cut up and softened
2 eggs
1 3/4 cup all-purpose flour
1 teaspoon baking soda
1/2 teaspoon salt
1 12oz package butterscotch-flavor pieces
3/4 cup chopped pecans

1.) Preheat oven to 350 degrees F.  Place oats in a large bowl.  Pour the boiling water over oats; let stand for a couple of minutes.  Grease and flour a 13x9x2-inch baking pan; set aside.

2.) Add granulated sugar, brown sugar and butter to oats mixture; stir until the butter is melted.  Stir in eggs until combined.  Stir in flour, baking soda and salt until combined.  Fold in the butterscotch pieces and chopped pecans.

3.) Pour batter into the prepared pan.  Bake in the pre-heated oven for about 40 minutes, or until a toothpick inserted near the center comes out clean.  Cool completely in pan on a wire rack.

Sunday, October 28, 2012

Pumpkin Caramel Bars with Bacon

Pumpkins are on every doorstep.  The candy aisles are empty at all of the grocery stores.  Halloween is almost here!  Which is why I decided to make pumpkin bars for this week's post.  What makes these treats really scary?  They have crumbled, crispy, smokey, greasy bacon sprinkled on top!  It may sound bizarre, but the combination of the spicy pumpkin bars, sweet caramel frosting, and salty bacon actually work well together to form a delicious dessert!

I really enjoyed making this recipe, but just a warning: it isn't one of those treats you can whip up quickly.  There are a lot of elements, each of which takes time and careful moderation.  The bacon needs to be cooked first so it can cool by the time the bars and frosting are finished; the bars need to rest before they can be frosted; and the frosting takes at least 10 minutes with a stand mixer or hand mixer on high speed before it is cold and fluffy enough to spread over the bars.  I even placed the bowl of frosting in the refrigerator for about a half an hour to allow it to set a little more.

But the time and effort required for these pumpkin caramel bars are definitely worth it as soon as you take that first bite!  So don't be scared....try them out!

Pumpkin Bar Ingredients

Caramel Frosting Ingredients (water not pictured)

Pumpkin Bar Batter

Baked Pumpkin Bars (pre frosting)

Caramel Frosting

Pumpkin Bars with Caramel Frosting and Bacon

Pumpkin Bars (pre Emma's mouth)

Pumpkin Caramel Bars with Bacon
Bars:
8oz bacon, cooked and crumbled
2 cups all-purpose flour
1 teaspoon baking soda
1 teaspoon ground cinnamon
1/2 teaspoon table salt
1 1/2 cups pumpkin puree
1/2 cup granulated sugar
1/2 cup packed brown sugar
1 egg
2 tablespoons unsalted butter, melted
1 teaspoon vanilla
1/4 cup chopped pecans

Caramel Frosting
2 cups packed brown sugar
1/3 cup water
Pinch of Salt
1/2 cup heavy cream
1 stick unsalted butter, cubed
4oz cream cheese, cut into 1-inch cubes
1/4 teaspoon sea salt (optional)

1.) Bars: Preheat oven to 350 degrees F.  Coat a 9x13 inch baking pan with nonstick cooking spray.  Cook bacon in a saute pan over medium heat until crisp; drain on a paper towel lined plate and set aside.  Reserve 2 tablespoons of the drippings.

2.) Whisk together flour, baking soda, cinnamon and table salt for the bars in a medium bowl, set aside.  Whisk together pumpkin puree, granulated sugar, 1/2 cup brown sugar, egg, melted butter, bacon drippings and vanilla in a large bowl until well blended.  Stir in flour mixture and pecans.

3.) Spread pumpkin batter evenly into prepared pan, bake until a toothpick inserted into the center comes out clean, about 20 minutes.  Let cool completely before frosting.

4.) Frosting: Boil 2 cups brown sugar, water and a pinch of salt for the frosting in a large saucepan over high heat, 5 minutes, swirling occasionally to prevent scorching.  Whisk in cream and butter pieces. (Mixture will bubble furiously; keep whisking).  Boil 2 minutes more.

5.) Transfer caramel to the bowl of a stand mixer; whip on high speed until sides of bowl are cool to the touch and caramel is thick, about 10 to 15 minutes.  Add cream cheese, one cube at a time, until frosting is smooth.

6.) Once bars are cooled, spread the caramel frosting evenly over the top, then sprinkle the bacon pieces over the frosting.


Monday, October 22, 2012

Sweet Potato Bread

Have you ever picked up something at the grocery store in the beginning of the week, planning to eat it for breakfast, lunch or dinner over the next several days, but for some reason you never got around to it or completely forgot you even bought it?  That was the case for me this week with my sweet potatoes.  I bought them with every intention of popping them in the microwave then sprinkling them with cinnamon for a delicious side dish to one of my dinners throughout the week.  However, by the time Saturday rolled around, they were still in the thin plastic bag I put them in at the grocery store that previous Sunday, knot still tightly bound.  Just sitting there on my kitchen counter.

Sad, I know.  So to remedy this, I decided to use them in my recipe this week!  I'm glad it wasn't the ground turkey or chicken wings that I forgot about, or this week's recipe would have been pretty interesting, to say the least...

This bread is actually quite delicious.  I found it in a Cooking Light magazine, so it's also quite healthy.  The taste is very similar to that of carrot cake.  So if you're not a huge sweet potato fan, you have no excuse not to try this bread.  Well except if you're not a sweet potato fan AND you're not a carrot cake fan.  And if that's the case, you're just weird.  So I would definitely try this recipe if you're looking for a more healthy, vitamin enriched dessert with notes of warm spices combined with a light yet sweet icing.  You should also try it if you happen to have some extra sweet potatoes lying around!

Bread Ingredients

Icing Ingredients (Note: Lemon Extract is Missing)

Bread Batter (Note: It Tastes Much Better than it Looks!)

Icing

Baked Bread without Icing

Baked Bread with Icing

Sweet Potato Bread
1 1/2 cups all purpose flour
2 tablespoons baking powder
1 teaspoon ground cinnamon
1/2 teaspoon baking soda
1/4 teaspoon salt
1/4 teaspoon ground nutmeg
1/8 teaspoon ground cloves
1/2 cup plain 2% reduced-fat Greek yogurt
1/2 cup granulated sugar
1/4 cup canola oil
2 large eggs
1/3 cup shredded peeled sweet potato (about 4oz)
1/3 cup chopped pecans

Icing
6 ounces 1/3-less-fat cream cheese, softened
2/3 cup powdered sugar
1/4 teaspoon lemon extract
Dash of salt

1.) Preheat oven to 350 degrees F.  Spray 9x5-inch metal loaf pan with baking spray.

2.) Bread: Combine flour and next 6 ingredients (through cloves) in a large bowl, stirring well with a whisk.  Combine yogurt, sugar, oil and eggs.  Add yogurt mixture to flour mixture, stirring just until moist.  Gradually fold in sweet potatoes and pecans.

3.) Scrape batter into the loaf pan.  Bake at 350 degrees F for 40 minutes or until wooden pick inserted in the center comes out with moist crumbs clinging.  Cool in pan 10 minutes.  Remove bread from pan; let cool completely on wire rack.

4.) Icing: Combine cream cheese and remaining ingredients in a bowl; beat with a mixer at medium speed 2 minutes or until smooth. Spread icing evenly over bread.

Sunday, October 7, 2012

Chocolate Cream Cheese Cupcakes

Really can't go wrong with cupcakes.  Especially if they're chocolate.  Throw a little cream cheese in the middle and you've got a perfect grab-and-go treat to celebrate any occasion--small or big.

I like these cupcakes because they are extremely appealing to both the eye and the palate.  The dollop of cream cheese filling in the middle of the cake is pretty enough that you don't need to decorate the dessert with frosting, as you would with most cupcakes.  The flecks of chocolate in the cream cheese from the mini chocolate chips provide a nice color contrast and speckled design to the creamy white center.

The cream cheese filling also provides a slight savory flavor dichotomy compared to the sweetness of the surrounding chocolate cake.  The dense filling in the center pairs well with the airy cake on the outside.  Overall, the contrasting aspects of this dessert work well together to create a tasty treat for any cupcake lover!

Filling Ingredients

Cupcake Ingredients

Filling Mixture

Cupcake Mixture

Hollowed Out Close Up

Hollowed Out Not So Close

Filled with Cream Cheese Filling-Before Oven

Done!

Cut in Half
Chocolate Cream Cheese Cupcakes
Filling:
1 8 ounce package cream cheese
1 large egg
1 tablespoon sugar
1/2 teaspoon salt
1/2 teaspoon vanilla extract
1/4 cup mini semi-sweet chocolate chips

Cupcakes:
1 cup all-purpose flour
3 tablespoons unsweetened cocoa powder
3/4 teaspoon baking powder
1/2 teaspoon salt
1/8 teaspoon baking soda
3/4 cup plus 2 tablespoons sugar
1/2 cup (1 stick) unsalted butter, room temperature
2 large eggs
1 teaspoon vanilla extract
3 ounces bittersweet chocolate, chopped, melted, warm
1/2 cup whole milk

1.) Filling: Using electric mixer, beat cream cheese in medium bowl.  Add egg, sugar, salt and vanilla and beat until almost smooth.  Fold in chocolate chips

2.) Cupcakes: Preheat oven to 350 degrees F.  Line standard muffin pan with 12 paper liners

3.) Whisk first 5 Ingredients in small bowl.

4.) Using electric mixer, beat sugar and butter in large bowl until fluffy.  Beat in eggs, stir in vanilla and chocolate.  Beat on high speed for 5 seconds.  Beat in flour mixture alternately with milk.  Beat on high for 5 seconds.

5.) Divide batter among cups filling 1/3 full. Using tablespoon, hollow out center of each cupcake.  Place one heaping tablespoon of cream cheese filling in each center.

6.) Bake cupcakes until toothpick inserted into center (but not cream cheese filling) comes out clean, about 20 minutes.  Cool 10 minutes in pan.  Remove from pan, cool completely on rack.

Sunday, September 23, 2012

Brownie-Pecan Shortbread Bars

If you have been following along with my blog so far, I'm sure you've seen a bit of a pattern.  Chocolate Chip Peanut Butter BANANA Bread, APPLE Whoopie Pies.  It's a lot of fruit.  Which is fine.  I like fruit in my desserts.  But this week, it think it's time we focus on chocolate.

Which is why I chose to make Brownie-Pecan Shortbread Bars.  These treats are the best of both worlds, with a rich chocolaty brownie on top and a flaky, sweet shortbread cookie as a crust.  So, if you like Ben and Jerry's Half Baked ice cream (I certainly do!), then you'll love this dessert.  The pecans, both finely chopped in the crust and more coarsely chopped in the brownie, give the bars added texture and crunch.

The original recipe called for 1/4 cup of white sugar for the crust.  I changed this to 1/8 cup of white sugar and 1/8 cup of brown sugar.  Personally, I enjoy the flavor of brown sugar in my cookies and crusts, and I believe mixing the two types of sugars for this crust pairs well with the brownie on top.  If you don't like to use brown sugar, then the 1/4 cup of white sugar will work for you.

The original recipe also called for unsweetened chocolate in the brownie portion of this dish.  I incorporated the unsweetened chocolate into my bars this week, but I have re-written the recipe below to include semi-sweet chocolate.  For me, the brownie just wasn't sweet enough with the unsweetened chocolate.  If you serve your bars with a dollop of Cool Whip or a scoop of vanilla ice cream, it may bring that needed sweetness to the dish.  However, if you plan on serving your bars plain, I would recommend using the semi-sweet chocolate.

Lastly, I could not find a 9x9x2 inch pan ANYWHERE.  Well, maybe I only looked at my local grocery store, but I really didn't feel like trekking all over Boston for an aluminum pan.  So instead, I used an 11x9x2.5 inch pan.  Because it was a bit larger than the original recipe called for, I increased the recipe by one and a half.  This ensured that I had enough crust to cover the bottom of the pan, and enough brownie batter for a thick brownie on top.

Enjoy!

Crust Ingredients

Brownie Ingredients

Crust Dough

Cooked Crust

Final Product

Final Product Before Jumping Into My Mouth...


Brownie-Pecan Shortbread Bars
Crust:
1/2 cup unsalted butter, softened
1/8 cup white sugar
1/8 cup brown sugar
1 large egg yolk
1/2 teaspoon vanilla extract
1 cup all-purpose flour
1/4 cup finely chopped pecans
1/4 teaspoon salt

Topping
3oz semi-sweet chocolate
1/2 cup unsalted butter
1 teaspoon vanilla extract
2 large eggs
3/4 cup white sugar
1 tablespoon all-purpose flour
1/2 teaspoon baking powder
1/2 cup coarsely chopped pecans

1.) Crust: Heat oven to 350 degrees F.  Line the bottom and sides of a 9x9x2 inch baking pan with non-stick foil, extending over the edges of the pan

2.) In a medium bowl, with an electric mixer, beat butter and sugar until creamy.  Beat in egg yolk, then vanilla.  On low speed, beat in flour, pecans and salt until just combined.

3.) With floured fingertips, pat the dough over the bottom of the prepared pan.  Bake 18 to 20 minutes or until crust is lightly golden.  Place the pan on a rack in the refrigerator to cool completely.

4.) Topping: In a microwave-safe bowl, melt chocolate and butter 30 seconds to one minute, stir to blend.  Let cool slightly, then stir in vanilla

5.) In a medium bowl, whisk eggs, sugar, flour and baking powder.  Whisk in chocolate mixture, then stir in pecans.  Spread mixture over cooled crust.

6.) Bake 26 to 28 minutes, until top looks slightly puffed and a toothpick inserted in the center comes out clean.  Cool in pan on wire rack for 10 minutes.  Use foil to lift bars out to cool completely on a wire rack.  cut into 9 to 12 bars, depending on size preference.

Sunday, September 16, 2012

Apple Whoopie Pies

It was 45 degrees when I walked outside this morning.  Which means my shorts/t-shirt ensemble was probably a poor choice...but it also means that Fall is almost here!

Apples are a flavorful and versatile ingredient to any Fall dish.  Whether you are baking a fragrant homemade apple pie, chopping up apples and mixing them into your stuffing for your turkey on Thanksgiving, or just dipping the whole piece of fruit into a tub of  warm caramel and then popping it on a stick for a delicious grab-and-go treat; apples are one of the many delicious flavors of Fall.

Which is why I chose to make Apple Whoopie Pies for this week's blog.  These treats have a taste similar to that of a spice cake with warm flavors of cinnamon and vanilla.  The unsweetened applesauce adds moisture without the extra sugar.  The sweet Fluffy Filling has notes of nutmeg, which rounds out the Fall flavors and aromas in this dessert.

I have a special baking sheet made specifically for making whoopie pies, which helps to create even, perfectly round cakes for each side of your whoopie pie.  If you make whoopie pies as much as I do, then this tool is a great addition to your kitchen. However, I'm assuming most of you do not have one of these baking sheets, so I've catered the recipe to you. 

Fall is my favorite season.  I hope this recipe helps you celebrate the cooler weather, beatiful colors and fuzzy sweaters of Autumn!

Cake Ingredients
Fluffy Filling Ingredients
Cake Batter
Pre Oven
Post Oven
Chillin'
Fluffy Filling
My Attempt at Being Artistic Don't Judge.
I Ate This One About Three Seconds After I Took This Picture... 

Apple Whoopie Pies2 cups packed light brown sugar
3/4 cup unsalted butter, softened2 eggs
1 teaspoon vanilla
1 1/2 cups unsweetend applesauce3/4 cup whipping cream
2 3/4 cups all-purpose flour
1 tablespoon ground cinnamon
1 teaspoon baking powder
1 teaspoon baking soda
1 teaspoon salt
1 recipe Fluffy Filling

1.) Preheat oven to 350 degrees F.  Line large cookie sheet with parchment paper, set aside
2.) In a large bowl, combine brown sugar and butter.  Beat with an electric mixer on medium speed until fluffy.  Add eggs and vanilla; beat until combined.  Add applesauce and whipping cream; beat well.
3.) In a medium bowl, combine flour, cinnamon, baking powder, baking soda and salt.  Gradually add flour mixture to the beaten mixture, beating until well mixed
4.) Drop batter by spoonfulls about 2 inches apart onto prepared cookie sheet.  Bake in the preheated oven for 10 to 12 minutes, or until edges are light brown.  Transfer to a wire rack to cool.

5.) Spread Fluffy Filling on bottoms of half of the cooled cakes.  Top with the remaining cakes, bottom sides down.  Serve immediately or store in the refrigerator and serve within 24 hours.

Yields about 24 whoopie pies

Fluffy Filling
1 cup butter, softened
1/2 cup marshmallow creme
1/4 cup whole milk1/4 cup all-purpose flour
1 teaspoon ground nutmeg
1 teaspoon vanilla
4 1/2 cups powdered sugar

1.) In a medium bowl, combine all ingredients with the exception of the powdered sugar and beat with an electric mixer on medium speed until well mixed.

2.) Gradually add the powdered sugar, beating until well mixed and fluffy.


Sunday, September 9, 2012

Peanut Butter Chocolate Chip Banana Bread

I love banana bread.  It's one of the easiest things to bake, it doesn't take a lot of ingredients, and it's pretty hard to screw up.  Which is why I chose to use this recipe first for the blog.  Also, I had some extra bananas lying around, so also a plus. 

Banana bread is very tasty on it's own.  It's extremely moist, it's dense and personally, it's my favorite way to get my dose of potassium.  However, when you throw some peanut butter and chocolate chips into the mix, you really can't go wrong.  And that is what I like to do when I make my banana bread.  The peanut butter adds a little more moisture to the bread, along with a bit of a salty flavor, which pairs well with the pockets of sweetness from the semi-sweet chocolate chips.

The recipe below is the one I use when I make my go-to Peanut Butter Chocolate Chip Banana Bread.  But feel free to put your own spin on it.  I've also used almond butter, which adds an excellent flavor and consistency similar to that of the peanut butter.  Chopped walnuts provide some crunch and texture to the bread and raisins deliver a different kind of sweetness and chewiness. 

And, if you're someone with a severe sweet tooth (like me), you can top the bread with a homemade Cream Cheese Frosting (recipe also listed below).  I chose to opt out of the sugar coma this time, so I kept my banana bread naked.  However, if you do want to add a little something to your bread when you are serving it (without giving your guests cavities), you can sprinkle some powdered sugar on top, or serve it warm with a drizzle of honey.

I hope you enjoy this recipe as much as I do!

Ingredients

Batter

Getting Hot...

Done!


Peanut Butter Chocolate Chip Banana Bread
1/2 cup unsalted butter, softened
1 cup white sugar
2 eggs
2 mashed bananas
2 cups all purpose flour
1 teaspoon baking soda
1/2 cup smooth/creamy peanut butter
1/2 to 1 full 8oz bag of semi-sweet chocolate chips (add to taste)

1.) Preheat oven to 350 degrees F.  Grease one 9x5 inch pan.
2.) Cream butter and sugar together until smooth.  Beat in eggs, then bananas.  Add flour and baking soda, stirring just until combined
3.) Add peanut butter and stir until well combined.  Fold in chocolate chips, half to full 8oz bag, depending on taste
4.) Pour into prepared pan and bake at 350 degrees F for about 1 hour, or until a toothpick comes out clean.  Remove from pan and let cool


Cream Cheese Frosting (Optional)
4 ounces unsalted butter, softened
4 ounce cream cheese, softened
2 cups powdered sugar
1 teaspoon vanilla extract

In a large bowl, beat together the butter and cream cheese with an electric mixer.  With the mixer on low speed, add the powdered sugar a cup at a time until smooth and creamy.  Beat in the vanilla extract.  Wait until the banana bread is completely cooled before topping with frosting.


Some Notes: 

1.) Banana bread recipes usually call for bananas that are fairly to completely ripe (the skin is completely brown on the outside).  But sometimes I want to make banana bread and my bananas are not quite there yet (they have some brown spots that look like freckles, but not completely brown).  At this point, they are not very mushy.  So in order to make them more malleable and easier to work into the batter, I peel the bananas and toss them into the microwave for about 30 seconds to a minute max.  This makes them much softer and much easier to mash up when you throw them into your mix.

2.) When I made this recipe this time, it took a little more than an hour for the bread to fully cook, about 75 minutes actually.  Every oven is different, so the baking time will vary depending on your oven.  However, 60 minutes is a safe bet to start with because it is always easier to keep it in the oven for a couple minutes longer if you toothpick doesn't come out clean, rather than putting your bread in for 75 minutes to start and coming back to your oven to find a black, smoking brick.  Just something to keep in mind.


Tuesday, September 4, 2012

How This Works

I have a problem

I buy cooking magazines in the check-out aisle at grocery stores. I spend hours searching through recipes online. I have most Food Network shows set to my favorites on my DVR. And then I take it one step further. I clip all of the intriguing recipes from those cooking magazines and file them away into my recipe folder. I email myself and bookmark all of those delectable options online. I buy the cookbooks of my favorite Food Network stars.

All of that sounds great....besides the fact that I have never done ANYTHING with my recipe collections...EVER...until now.

Every week I plan on sifting through those tattered clippings, those dated online articles and those dusty old cookbooks. I will pick out the one baking recipe that I deem appropriate (and doable), then bake it! I must warn you, however, I'm no Martha Stewart, no Julia Child. You will not find dainty, flower-laced cakes with perfectly embellished fondant boarders in a pretty pastel pink on this blog.

I am messy. I am awkward. But I have been known to pull some pretty delicious treats out of my oven. This will be a learning experience for me, but I'm hoping I can teach you some things as well.

Monday, September 3, 2012

Welcome!

Everyone has a sweet spot. It's something that makes you laugh, makes you giggle, makes you smile.  It causes you react in such a way that nothing else can.  It has an effect on you that you can't explain, can't ignore, yet you love the way it feels and don't want it to stop.  Well my sweet spot really is sweet.  I love sweets.  Anything with sugar, dough, chocolate or the combination of all three really hits a chord with me.  I love to bake and love to share my creations with the people I love.  So if your sweet spot is sweets too, please follow along with me as I share my baking experiences and recipes.  They may turn out to be a disaster, they may be quite delicious, but whatever they are, I can guarantee they will hit your sweet spot!